There is absolutely no doubt that garlic bread is and always will be a winning side dish. This air fryer ciabatta garlic bread is no different - buttery, zesty goodness, made easy in the air fryer. This garlic bread gets an even tastier spin with the addition of sweet roasted garlic. Just when you thought garlic bread could not get any better, this recipe will change your mind!
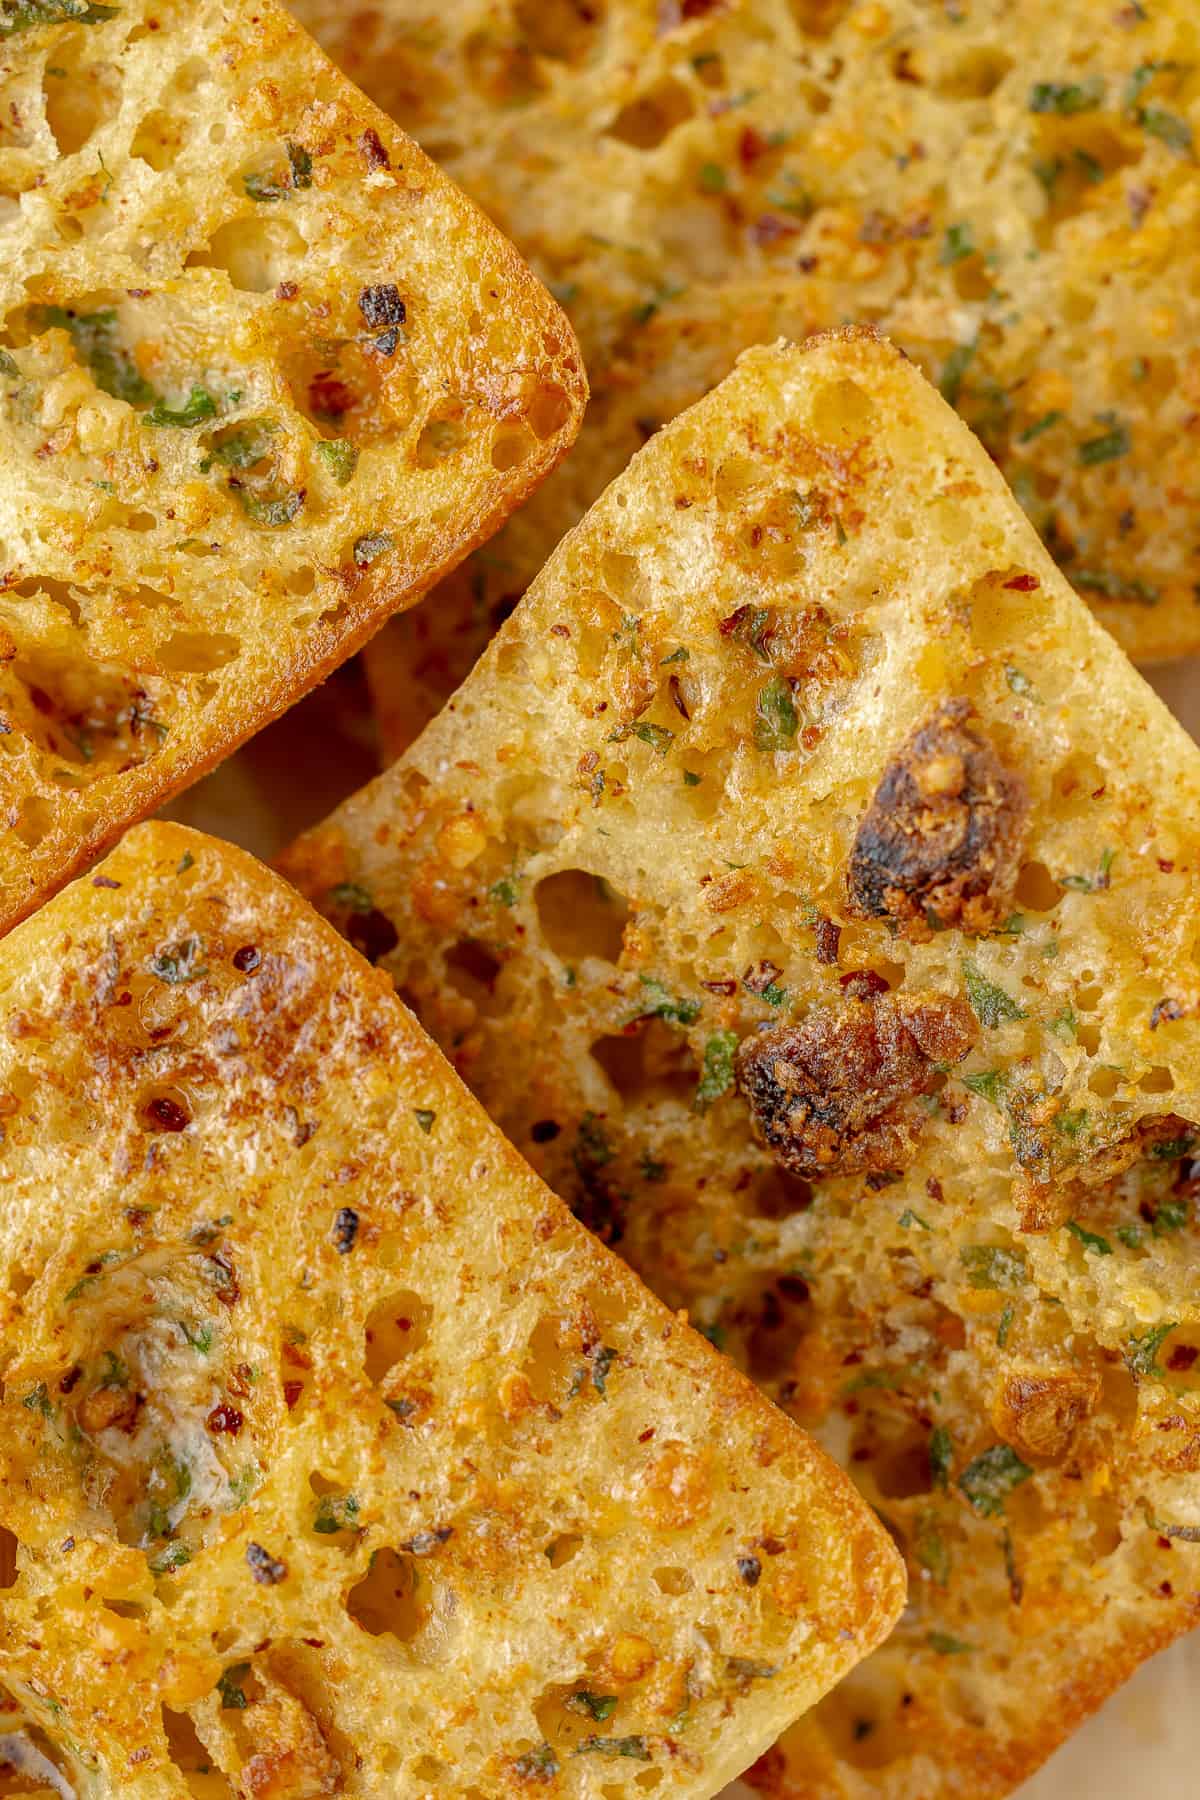
Garlic bread goes well with just about anything, but my personal favorite will always be pasta. Some of my favorite pastas to pair this garlic bread with are spaghetti arrabiatta, roasted garlic and chicken farfalle, or my olive garden giant stuffed shells!
Jump to:
👩🏽🍳 Why This Recipe Works
- No need to turn on the oven: Sometimes all you need is one or two slices of garlic bread, and turning the oven on for that just doesn't make sense. This recipe eliminates the need for the oven, making garlic bread-on-demand possible!
- Roasted garlic twist: Regular garlic bread usually uses raw garlic, which can be slightly punchier and zestier. While it's delicious, this recipe uses roasted garlic for a mellow garlic flavor. This is garlic bread, but amped up!
- Easy make-ahead spread: The garlic spread can be made ahead and kept on hand in the fridge in advance. Use it as you need it and cut down on your prep time at dinner time.
🥘 Ingredient notes
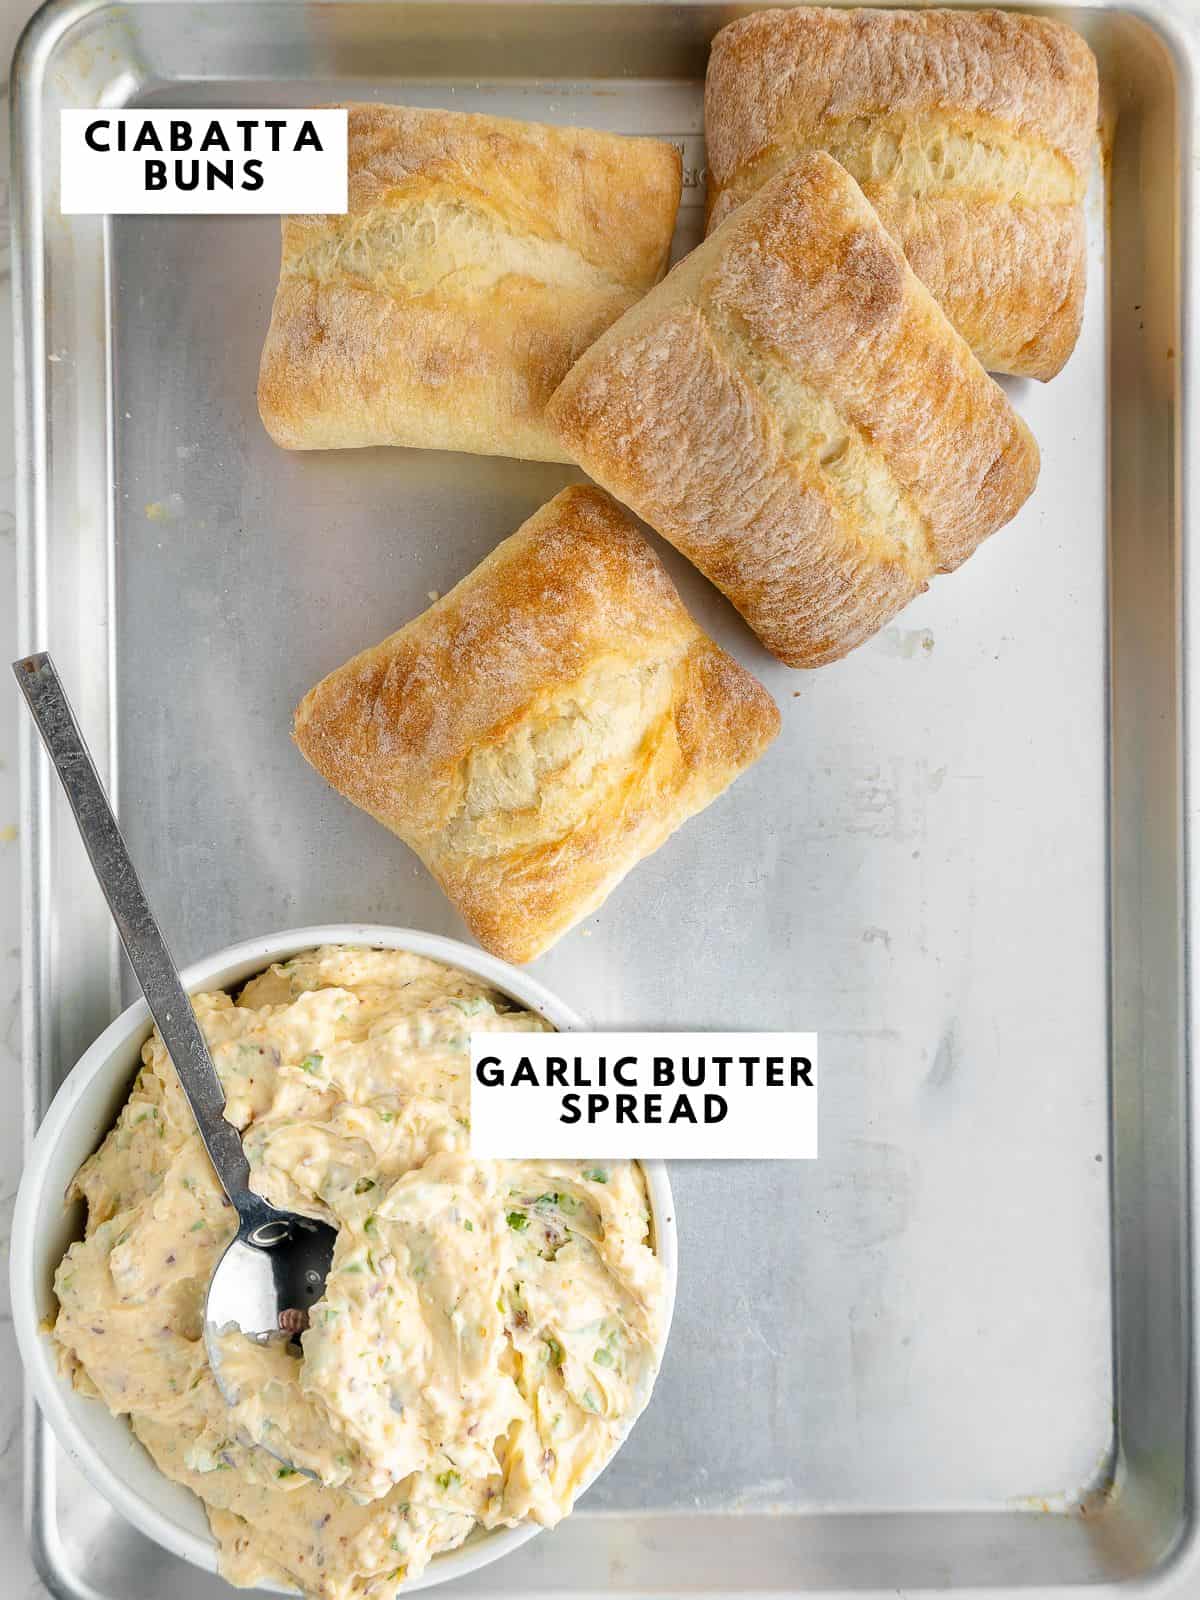
- Homemade roasted garlic spread: The star of this garlic bread is the roasted garlic butter. This butter is packed with sweet roasted garlic, fresh parsley, nutty parmesan, and a shy kick from red chilli flakes. It spreads perfectly, and is full of flavor.
- Ciabatta buns: Ciabatta buns are my go-to for air frying garlic bread, as they fit perfectly in an air fryer basket. Ciabatta buns are also a great choice, because the little air bubble crevices tend to hold pools of butter, for bursts of garlicky goodness.
A full list of ingredients with measurements is located on the recipe card, below.
📖 Substitutions
- Ciabatta buns: You can substitute ciabatta for just about any bread you prefer. Italian or French bread are both sturdy choices that hold onto the garlic butter. I would avoid regular sandwich bread, but texas toast is always a good choice!
- Homemade garlic butter: You can definitely make this garlic bread with a store-bought spread if you are in a time crunch. The cooking times and instructions would be the same. You can also make the homemade garlic butter with raw garlic instead of roasted, for a shortcut.
🔪 Variations
- Cheesy: Upgrade this garlic toast with melty mozzarella or provolone cheese. I recommend using freshly shredded cheese for the best melting result.
- Calabrian chilli: Mix in Calabrian chilli paste into the garlic spread mixture before spreading it on your buns for garlic bread with a kick.
- Topped: Use these garlic ciabatta buns as a base for air fryer pizzas, topped with marinara, cheese, and your favorite toppings.
⏲️ Step-by-step Instructions
Prep Work Before Cooking
- Collecting all your ingredients: This will make cooking so much easier. Gather all the spices you will need, and keep them nearby.
- Prepare a batch of roasted garlic butter - Mix together one batch of roasted garlic butter and keep aside.
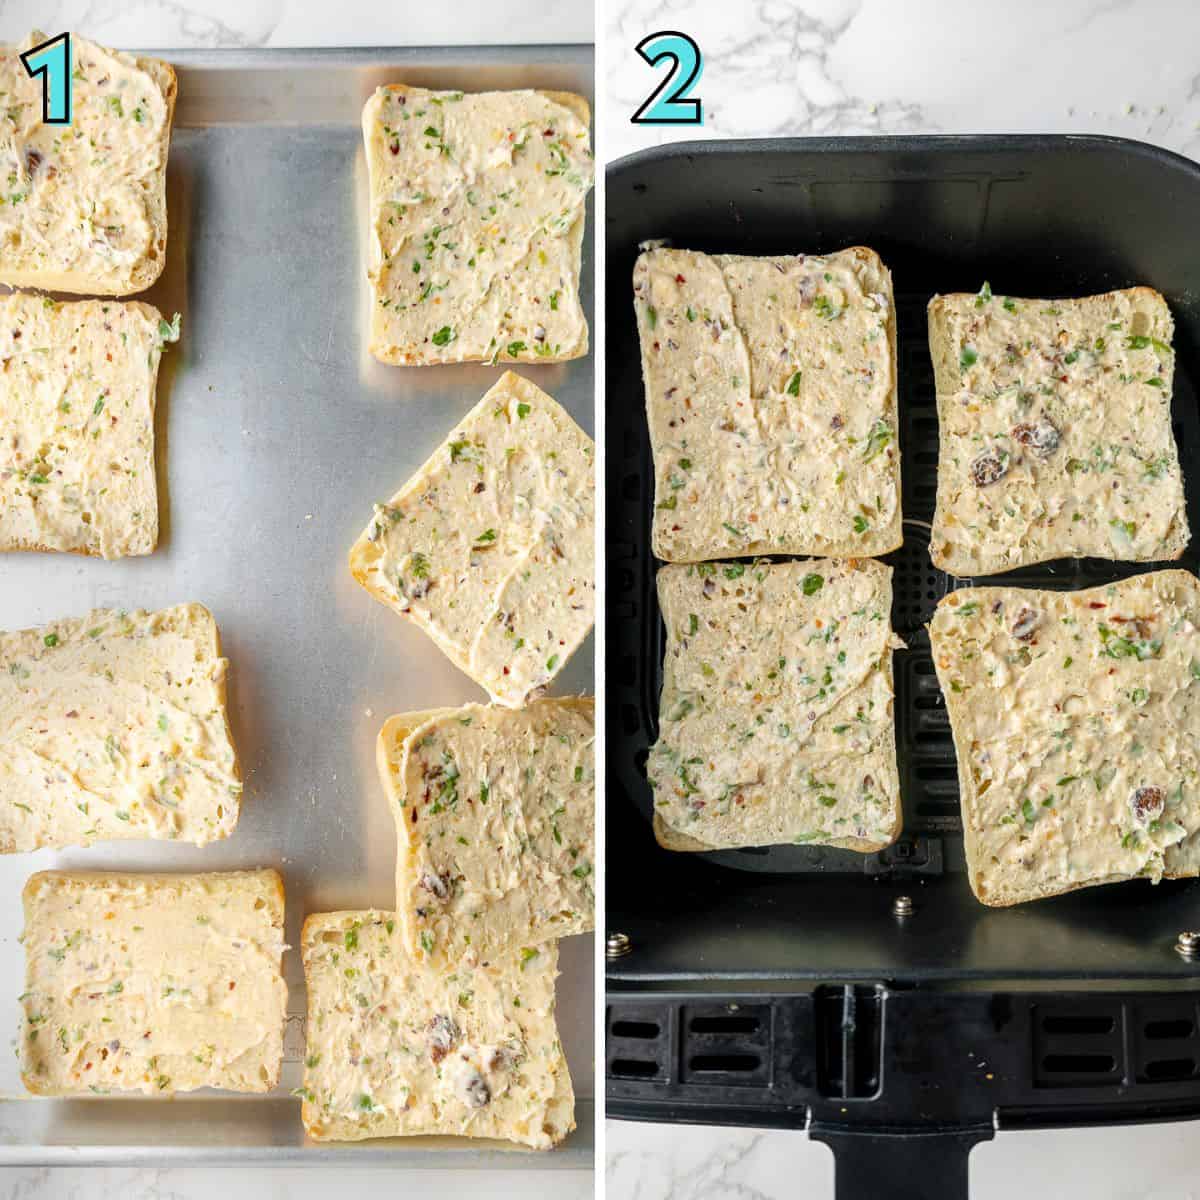
Portion out approximately 1 ½ tablespoons of garlic butter on each side of the ciabatta buns. Spread into an even layer. [photo 1]
Arrange the buttered ciabatta buns in an air fryer basket. You may need to make air fry in two batches, depending on the size of your air fryer. [photo 2]
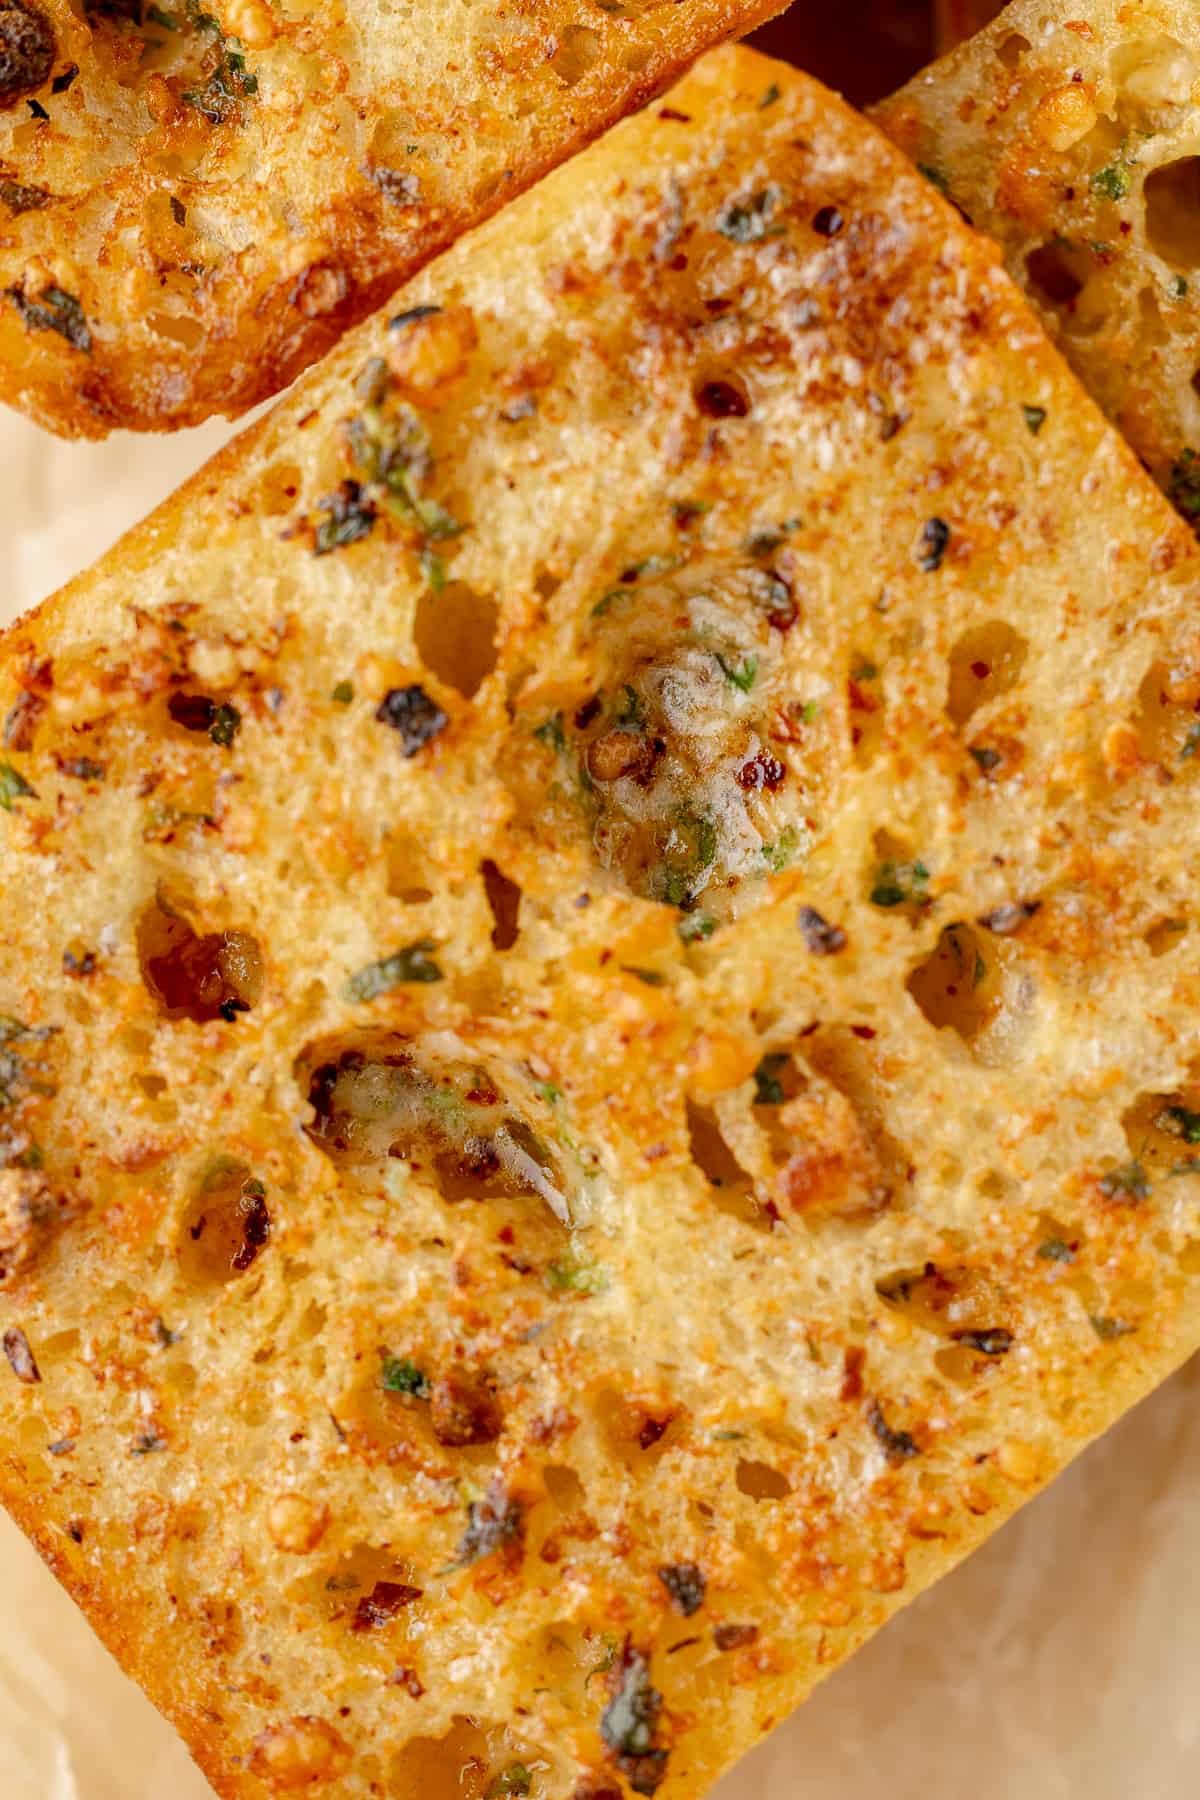
Air fry the garlic toast for 9 minutes at 400°F. The tops should be golden brown, and slightly crispy.
💭 Expert Tips
- Slice the ciabatta buns evenly: Slice the ciabatta buns in half evenly to ensure even toasting and browning in the air fryer. If you have one side that ends up thinner than the other, you will end up with a much crispier texture.
- Monitor the cooking time: Air fryers tend to cook quickly, so keep a close eye on the bread to avoid overcooking and burning. Since each air fryer varies slightly, it is always best to stand by.
- Check for crispiness: Check the ciabatta buns for crispiness and golden-brown color. If the buns need more time, you can continue cooking in 1-2 minute increments until you achieve the desired level of crispiness - this may slightly vary from the recipe timing.
🍽 Make Ahead & Storage
Prep the garlic butter spread: The roasted garlic butter spread can be made ahead of time by mixing softened butter, minced garlic, herbs, and seasonings. Store in an airtight container in the refrigerator for 1-2 weeks.
Assemble in advance: Spread the garlic butter mixture on both sides of the ciabatta buns. Assemble the both sides of the buns together, sandwiching the garlic butter in the middle. Wrap the buns tightly in plastic wrap or aluminum foil.
Freeze: Place the wrapped buns in the freezer, and defrost sandwiched buns as needed. The buns can stay in the freezer, wrapped tightly, for 2-3 months.
Refrigerator: If you plan to consume the made-ahead or leftover garlic bread within a day or two, you can store the wrapped buns in the refrigerator. The texture may become slightly softer after refrigerating.
To reheat: If you've stored the garlic bread in the refrigerator or the freezer, you can reheat individual buns directly in the air fryer at 350°F.
⭐ Recipe FAQs
Yes, you can use store-bought garlic butter or garlic-infused olive oil if you're looking for a convenient substitute. Making your own garlic butter allows you to customize the flavor and control the quality of ingredients, which is always my suggestion.
Absolutely! Ciabatta is a popular choice for its crispy crust and soft interior, but you can use other bread types like baguette, French bread, or even sourdough. Be sure to adjust the cooking time if the slices are thicker or thinner.
Keep a close eye on the bread while it's in the air fryer, as it can cook quickly. Adjust the cooking time as needed to achieve a golden-brown and crispy texture without burning.
Looking for more meal inspiration? Subscribe to our newsletter for weekly recipe roundups, straight to your inbox! Follow us on our socials, on Instagram, Pinterest and Facebook! If you try one of our recipes, let us know how it was by rating and commenting!

Air Fryer Ciabatta Garlic Bread
Equipment
Ingredients
- ½ cup Homemade roasted garlic butter
- 8 Ciabatta buns (halved horizontally)
Instructions
- Portion out approximately 1 ½ tablespoons of garlic butter on each side of the ciabatta buns. Spread into an even layer.½ cup Homemade roasted garlic butter, 8 Ciabatta buns
- Arrange the buttered ciabatta buns in an air fryer basket. You may need to make air fry in two batches, depending on the size of your air fryer.
- Air fry the garlic toast for 9 minutes at 400°F. The tops should be golden brown, and slightly crispy.
Notes
- Slice the ciabatta buns evenly: Slice the ciabatta buns in half evenly to ensure even toasting and browning in the air fryer. If you have one side that ends up thinner than the other, you will end up with a much crispier texture.
- Monitor the cooking time: Air fryers tend to cook quickly, so keep a close eye on the bread to avoid overcooking and burning. Since each air fryer varies slightly, it is always best to stand by.
- Check for crispiness: Check the ciabatta buns for crispiness and golden-brown color. If the buns need more time, you can continue cooking in 1-2 minute increments until you achieve the desired level of crispiness - this may slightly vary from the recipe timing.



Comments
No Comments